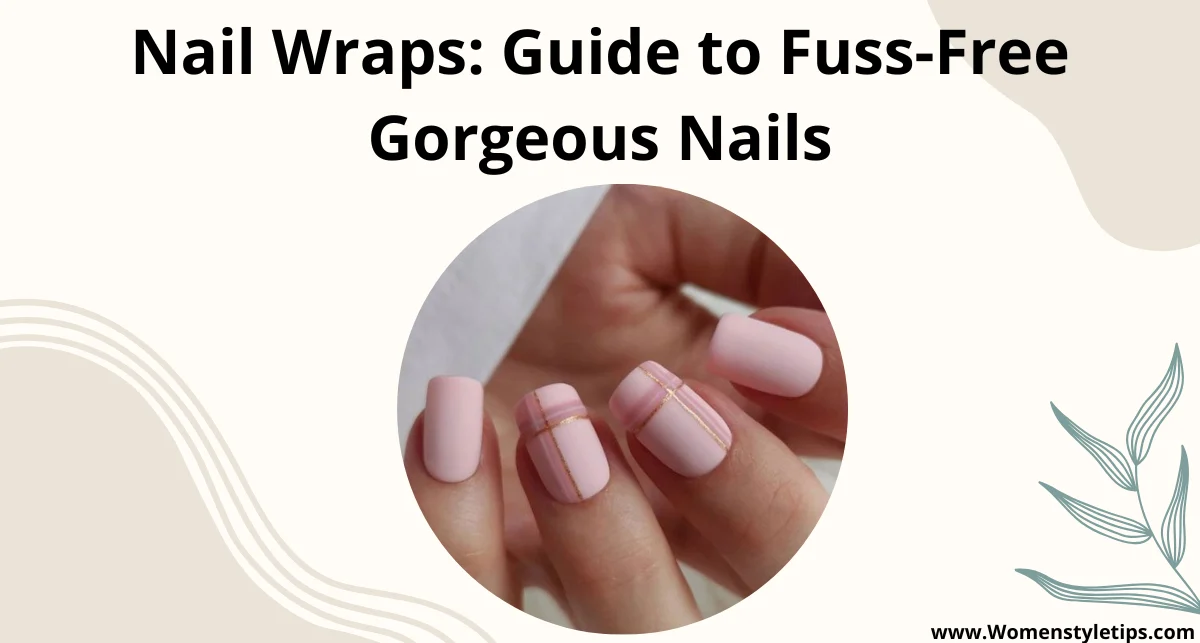
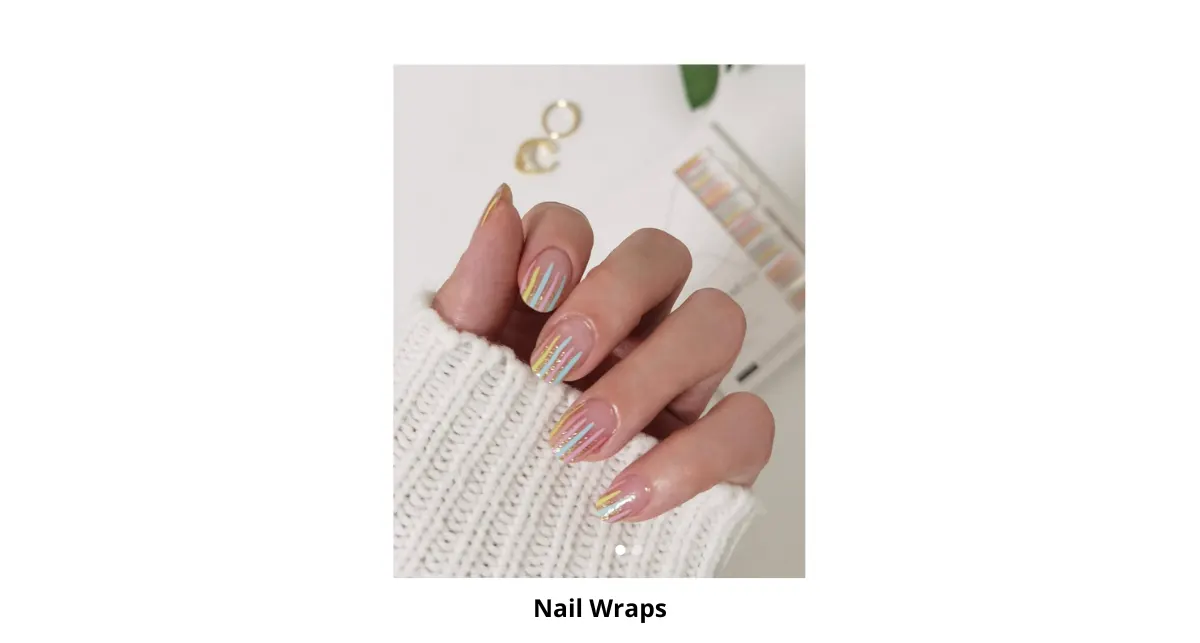
If you love beautifully manicured nails but don’t have the time (or patience) for intricate designs or salon visits, nail wraps might just be your new best friend. Nail wraps are a total game-changer for anyone who wants stunning nails in minutes. Easy to apply, budget-friendly, and available in endless designs—honestly, what's not to love?
Whether you’re new to nail wraps or looking to upgrade your nail game, this blog covers everything you need to know about these little lifesavers. From application tips to trending designs, we’ve got you covered!
What Are Nail Wraps?
For the uninitiated, nail wraps are thin, flexible stickers made of vinyl, polish, or gel material that you can apply directly onto your natural nails. Think of them as tiny works of art that instantly glam up your fingertips without the mess (or stress) of liquid nail polish.
They come in various designs—solid colors, patterns, glitter, you name it! And the best part? No drying time. Unlike painting your nails, which can take forever to dry (and still somehow manage to smudge as soon as you move), all you need to do with wraps is stick them on and go about your day.
Why Choose Nail Wraps?
Here’s why nail wraps are making waves:
- Quick and Easy: Perfect for people who don’t have time for elaborate nail art.
- Mess-Free: No spills, no streaks, and no smudged designs.
- Versatile Designs: From minimalist chic to bold and artsy, there’s a design for everyone.
- Durable: High-quality wraps can last up to two weeks!
How to Apply Nail Wraps Like a Pro
Applying nail wraps is super simple, but a little preparation goes a long way. Follow these steps for a flawless application.
Step 1. Prep Your Nails
- Start with clean, buffed nails.
- Push back your cuticles to give the wraps a smooth surface to stick onto.
- Wipe your nails with alcohol or a nail cleanser to remove oil and dirt.
Step 2. Choose the Right Size
Most nail wraps come in multiple sizes. Pick the one that best matches each nail. If it’s slightly big, you can always trim it to fit.
Step 3. Apply the Wrap
- Peel off the nail wrap and carefully place it on your nail, starting from the cuticle and pressing outward.
- Smooth out any bubbles or wrinkles using a silicone nail pusher or your fingers.
Step 4. Trim and File
- Use scissors or nail clippers to trim the excess wrap.
- File down the edges in a downward motion for a clean look.
Step 5. Seal the Deal
For extra durability, apply a clear topcoat over your wraps. This will extend their life and add a glossy finish.
Common Mistakes to Avoid
Even though nail wraps are easy to apply, rookie mistakes can happen. Here’s what to watch out for:
- Skipping Prep: Oily or dirty nails can stop wraps from sticking properly.
- Misaligned Wraps: Always double-check placement before pressing the wrap.
- Filing Too Hard: Avoid overly aggressive filing to prevent tearing the wrap.
- Using the Wrong Size: Make sure to pick the right size for each nail—too big or small, and it’ll look off.
Pro Tip
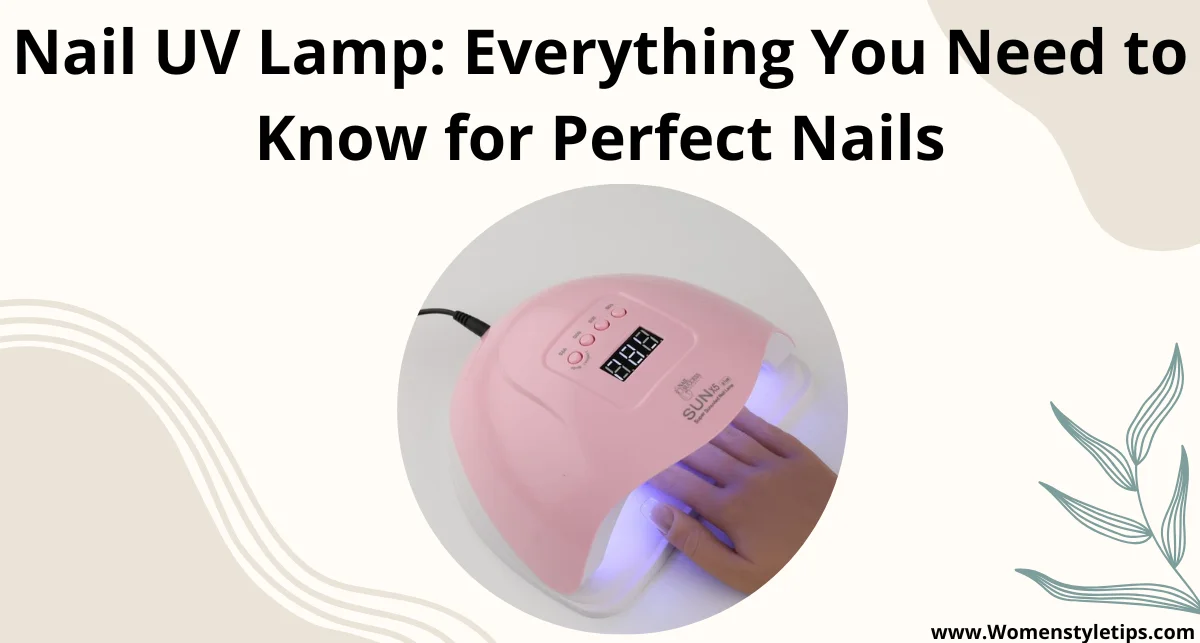
Use a UV lamp to cure gel-based wraps for a salon-quality finish that lasts longer.
Best Nail Wrap Styles to Try
The beauty of nail wraps is that they come in endless designs, so there’s always something fun to try. Here are some trending styles to check out!
1. Minimalist Chic
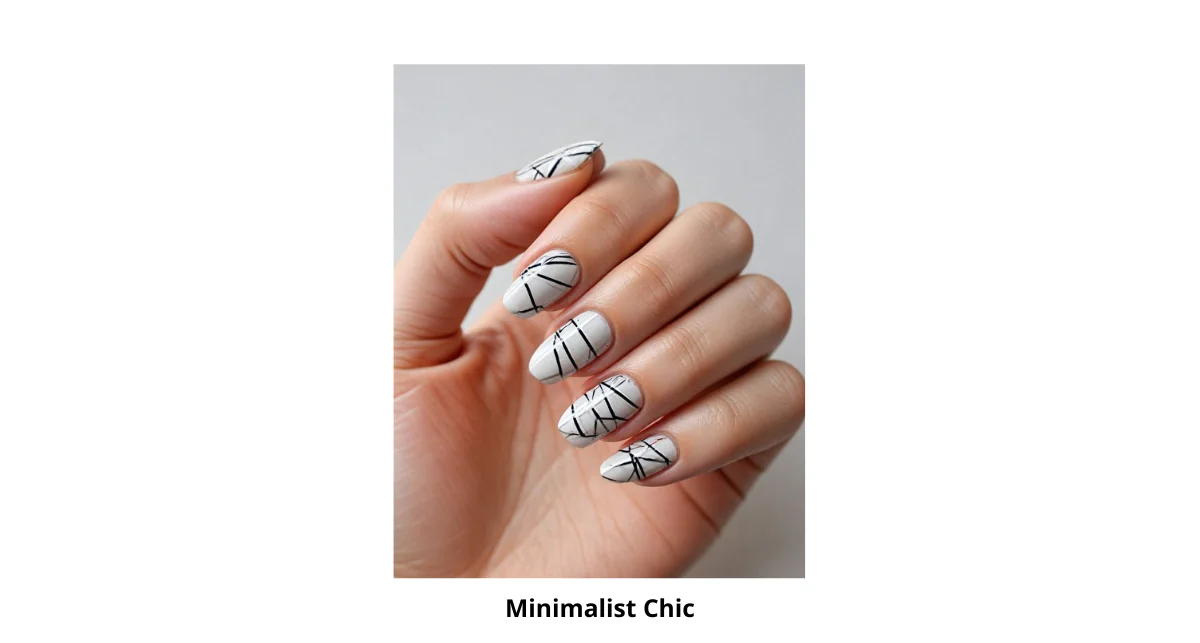
For those who love sleek, understated nails, minimalist wraps featuring neutral tones, simple dots, or line art are perfect.
2. Floral and Feminine
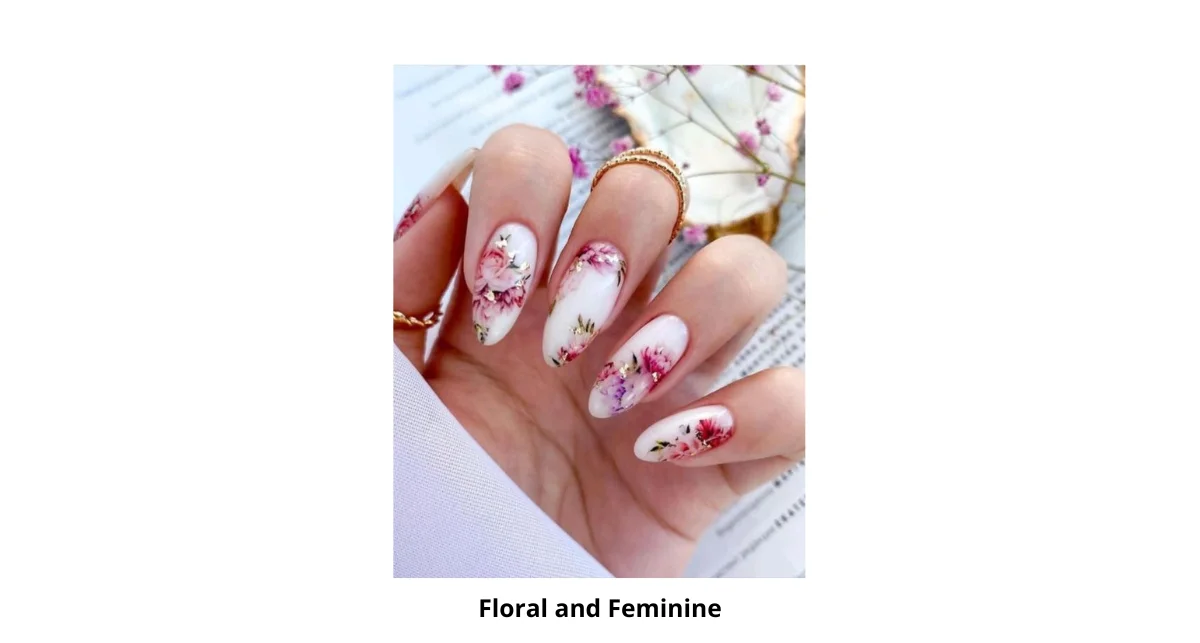
Floral prints never go out of fashion. From soft pastels to bold blooms, floral nail wraps bring a touch of romance to your look.
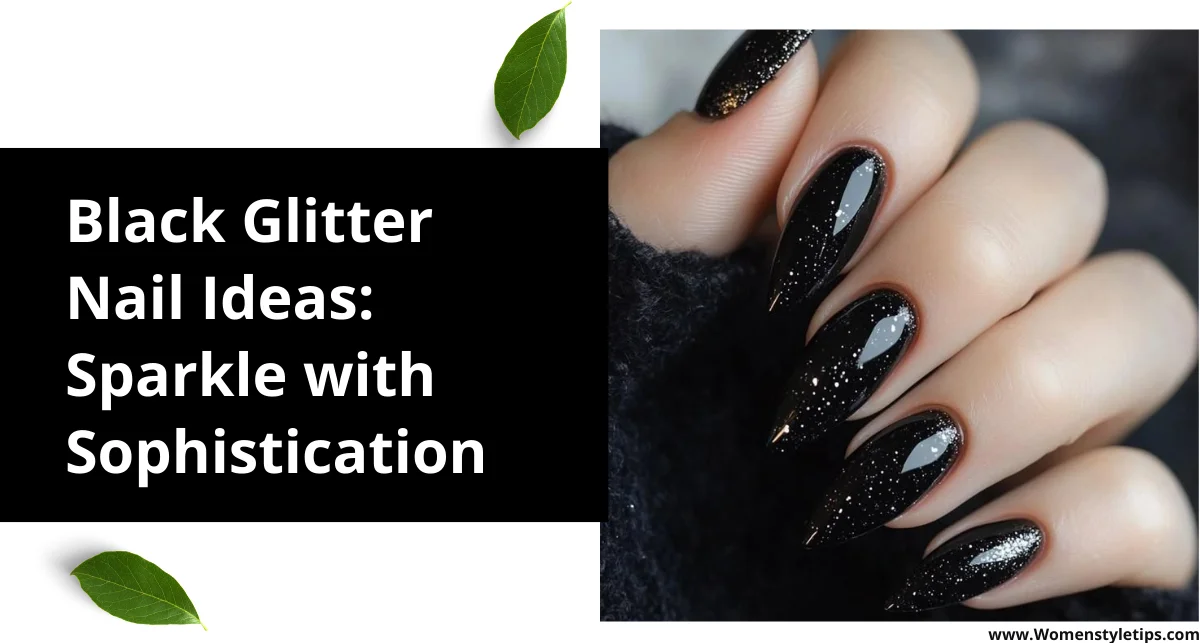
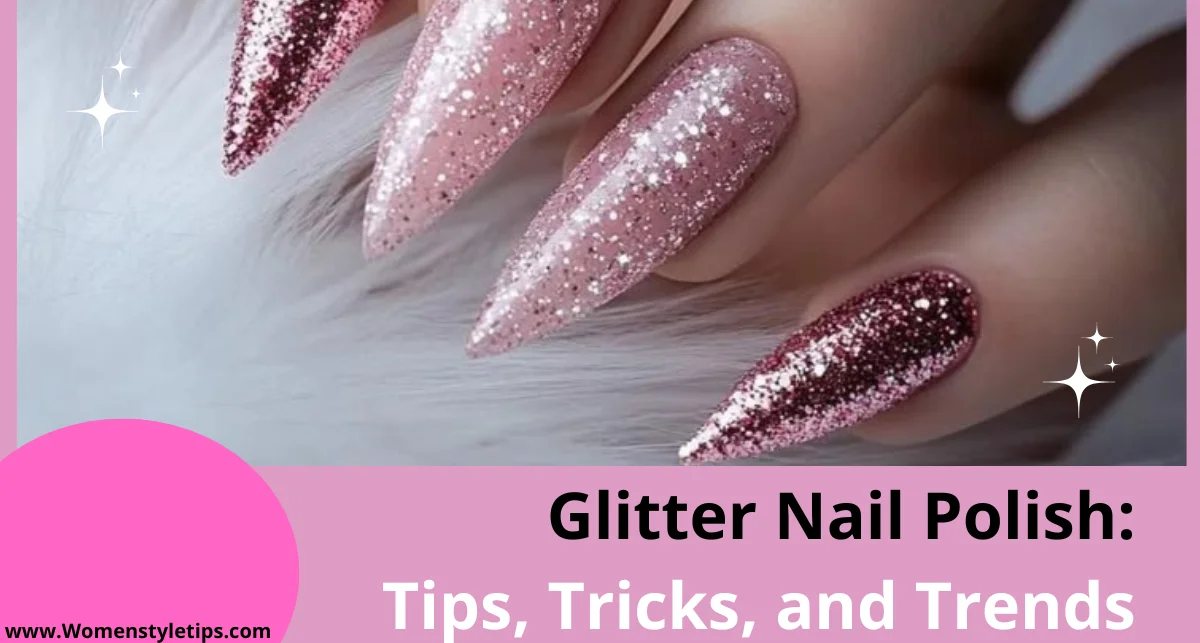
3. Glitter and Glam
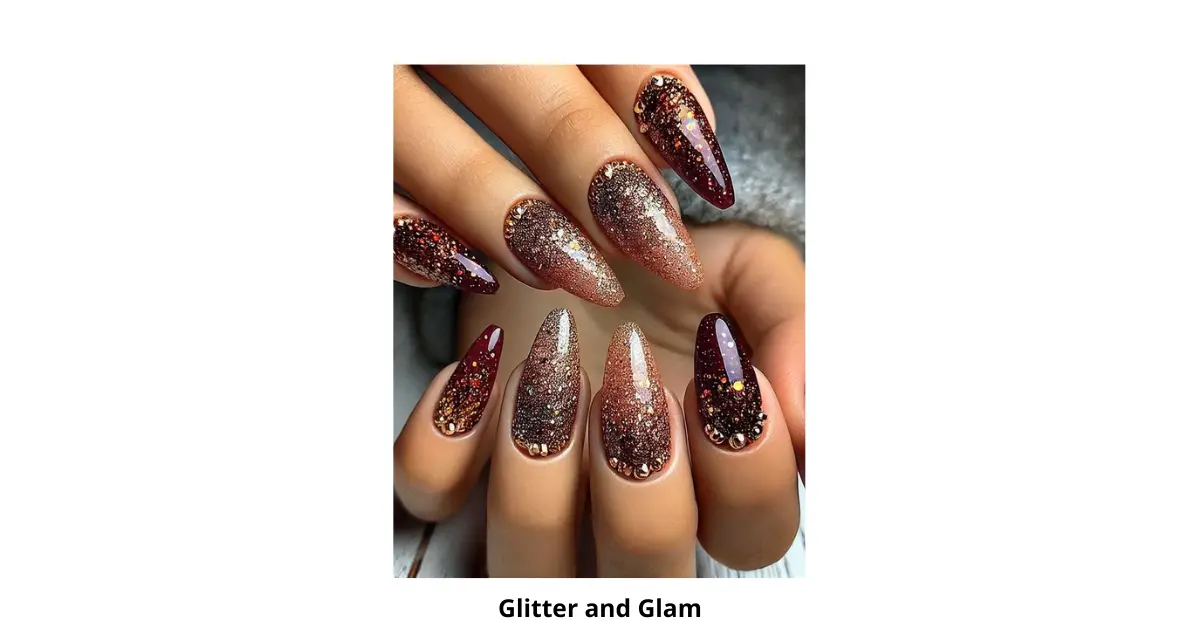
Whether it’s a special occasion or you just want to sparkle, glitter nail wraps instantly elevate your glam factor. No messy glitter polish required!
4. Seasonal Themes
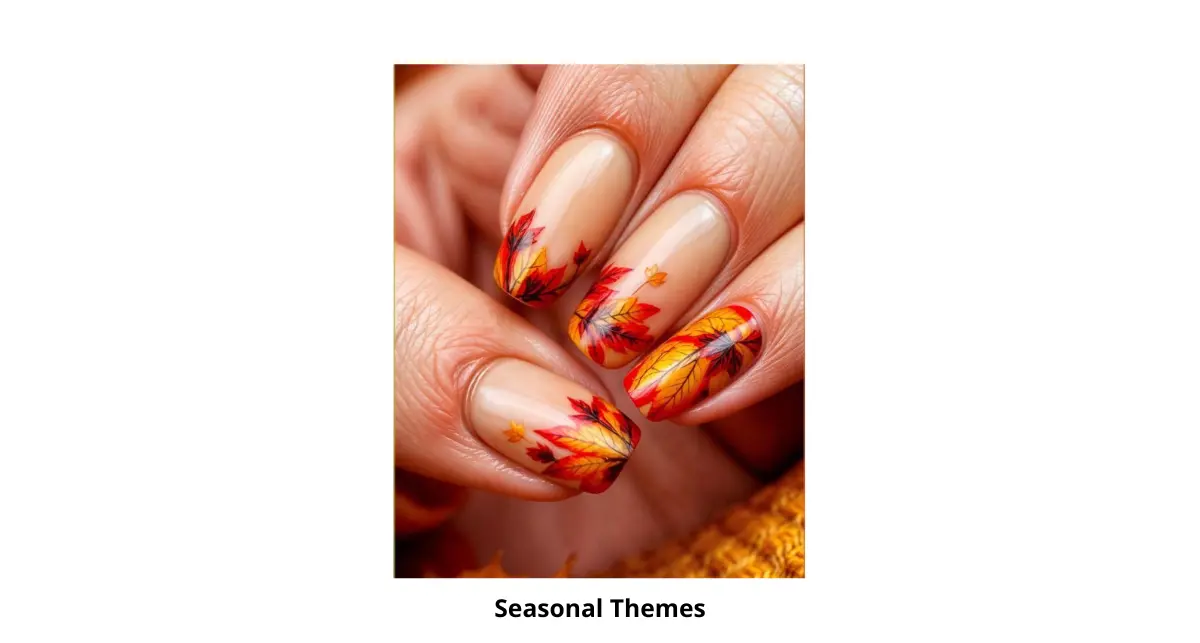
Match your nails to the season with themed wraps—think snowflakes for winter, pumpkins for fall, or pastel eggs for spring.
5. Bold and Vibrant Patterns
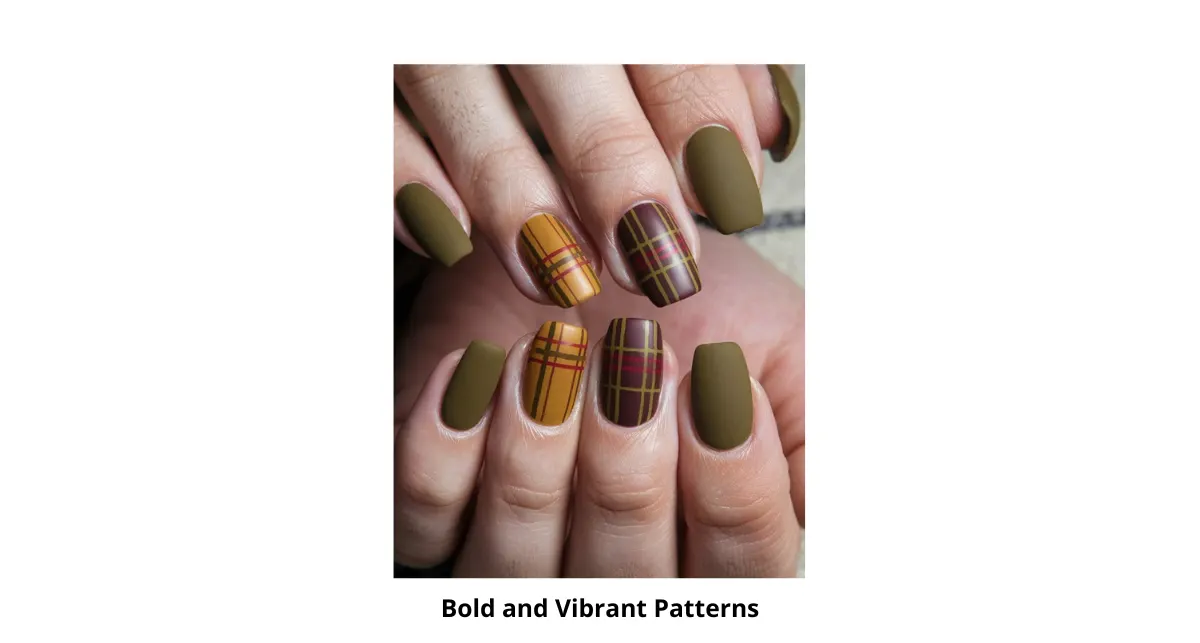
Feeling adventurous? Neon colors, geometric prints, and animal patterns scream confidence and creativity.
Are Nail Wraps Better Than Traditional Nail Polish?
It’s not a competition... but if it WERE, nail wraps would win hands down for their convenience and versatility. Here’s a quick comparison to help you decide.
| Feature | Nail Wraps | Traditional Nail Polish |
|---|---|---|
| Application Time | 15–20 minutes | 30–45 minutes (plus drying time) |
| Durability | 7–14 days | 3–7 days (without chips) |
| Removal | Peel or soak off | Requires remover or acetone |
| Mess Factor | None | High (hello, smudges and spills!) |
Nail wraps are ideal if you’re short on time or just hate dealing with liquid polish.
How to Remove Nail Wraps Safely
Removing nail wraps is just as easy as applying them! Follow these steps to avoid damaging your nails.
1. Warm Water:
- Soak your nails in warm water for a few minutes to loosen the adhesive.
- Peel off the wrap gently from the sides.
2. Oil-Based Method:
- Apply cuticle oil or coconut oil to the base of the wrap.
- Rub gently and lift the edges with an orange stick or cuticle pusher.
3. Nail Polish Remover:
- Use an acetone-free remover for vinyl wraps.
- Lightly soak a cotton pad and hold it against your nail for a few seconds before peeling.
Pro Tip
Always moisturize your nails after removal to keep them healthy and strong.
Final Thoughts
If you’re someone who craves flawless nails but hates spending hours at the salon, nail wraps are a dream come true. They’re fun, affordable, and an easy way to switch up your style.
Why not give them a try? Trust me, once you see how effortless and gorgeous nail wraps can be, there’s no going back. Whether you’re keeping it simple or going full glam, the perfect wrap is just waiting to be peeled and placed on your nails.
Get ready to wrap it up—beauty has never been this easy!
FAQs About Nail Wraps
Q1. How long do nail wraps last?
High-quality nail wraps can last 7–14 days, depending on your lifestyle and how well you apply them.
Q2. Can I use nail wraps on acrylic or gel nails?
Absolutely! Nail wraps can be applied to acrylic or gel extensions for added designs.
Q3. Are nail wraps safe for kids?
Yes, many brands offer kid-friendly designs made from non-toxic materials.
Q4. Can I remove nail wraps and reuse them?
Reusable wraps are rare since most lose their adhesive after removal.
Q5. How do I make nail wraps last longer?
Seal them with a clear top coat and avoid prolonged exposure to hot water.